iRobot Roomba J9+ Setup and Usage: A Complete Guide
When you purchase through links on our site, we may earn an affiliate commission. This does not cost you any additional money.
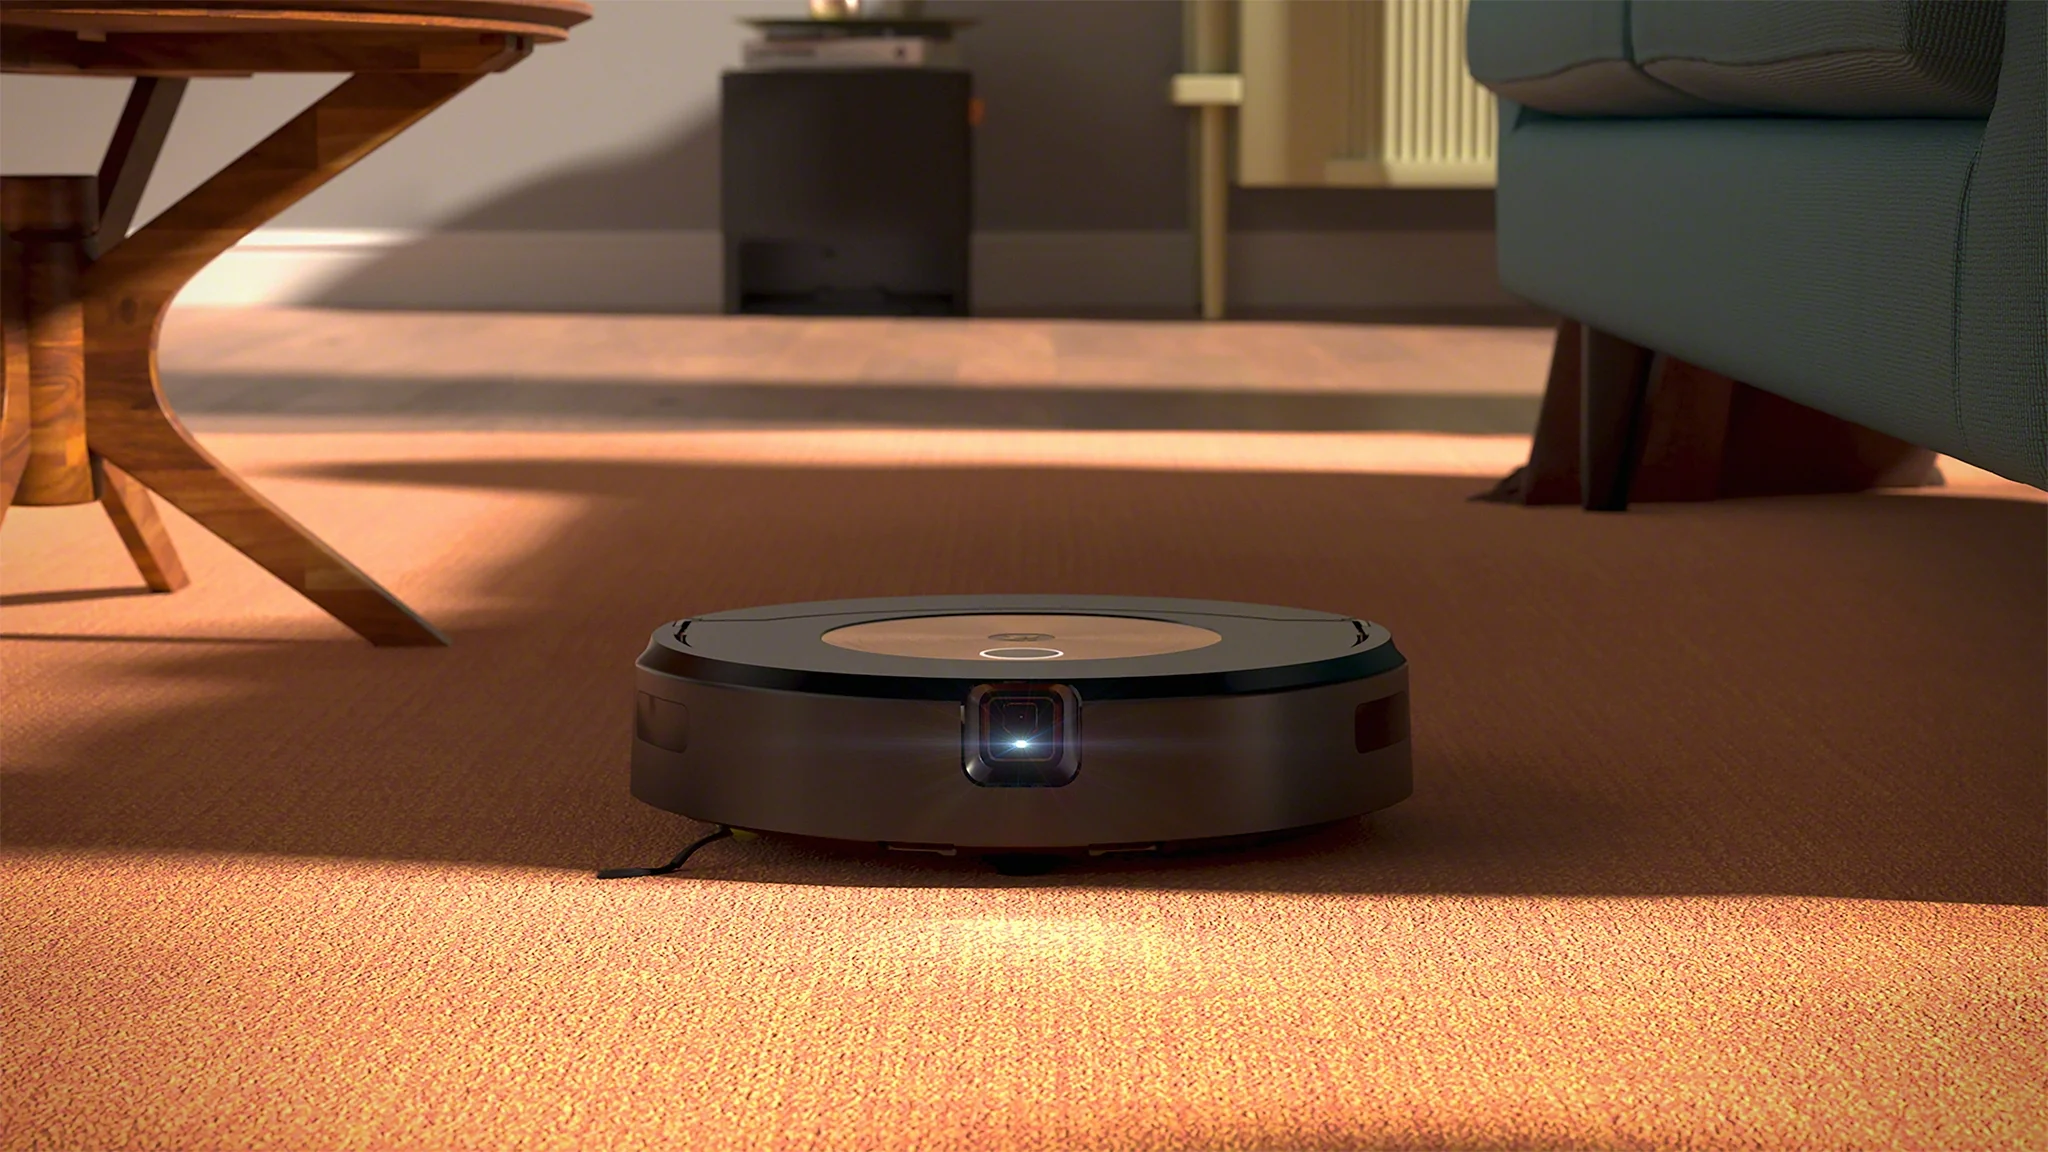
Robot vacuums have become one of the most useful technological innovations for home cleaning. iRobot Roomba J9+ stands out with its powerful suction, smart mapping, and automatic dirt disposal features. In this guide, we’ll walk you through the setup and usage of the Roomba J9 step by step.
Looking for an advanced smart cleaning solution for your home? Check out the Roomba J9+ here! ➡️ View Now
1. Unboxing and Initial Setup
Once you unbox your Roomba J9, make sure to follow these key steps to ensure a smooth setup:
1. Initial charging:
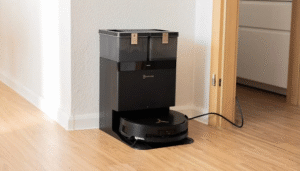
- Place the vacuum on its charging station and charge it for at least 3 hours before the first use. A full charge ensures optimal performance.
- Ensure the charging dock is placed against a wall and on a flat surface.
- Leave at least 3 feet (1 meter) of free space around the dock. Tight spaces can make it harder for the vacuum to locate its base.
2. Connecting to the app:
- Download the iRobot Home app (available for iOS & Android).
- Connect to Wi-Fi: A stable internet connection is crucial for firmware updates.
- Register your device and check for updates. Software updates can fix bugs and improve performance.
2. Mapping Process: Helping Roomba Learn Your Home
One of Roomba J9’s strongest features is Smart Mapping technology. To maximize efficiency, follow these steps:
Allow it to complete its first scan: The first time Roomba J9 runs, let it travel around your entire home. During this process, it won’t clean deeply—it’s simply learning the layout.
Define cleaning zones: Using the app, name your rooms and set restricted areas. You can block off spaces with loose cables or pet food bowls to prevent accidental messes.
Use the Dirt Detective feature: Roomba J9+ remembers the dirtiest areas in your home and prioritizes them for extra cleaning sessions!
3. Daily Use & Best Practices for Maximum Performance
Schedule cleanings: Set up automatic cleaning times that work best for you, like mornings when everyone leaves for work or nighttime before bed.
Keep the charging dock in a fixed location: Roomba relies on this for navigation. If moved too often, the mapping system may struggle to recognize home layout changes.
Optimize carpet & hard floor transitions: Roomba J9 has a boosted suction mode for carpets—enable this via the app if you have large carpeted areas.
4. Maintenance & Cleaning: Ensuring Long-Term Performance
Proper maintenance keeps Roomba running efficiently. Here’s what you need to check regularly:
Dust bin: While the self-emptying system helps, manually checking and cleaning the bin once a month is recommended.
Side brushes: Long hair and debris can get tangled. Inspect and clean them every two weeks. If they look worn out, replacing them might be necessary.
HEPA filters: If someone in your home suffers from allergies, washing the filters monthly helps maintain clean air.
Sensor cleaning: Over time, dust can accumulate on the sensors, leading to navigation errors. Wipe them down with a dry microfiber cloth every month.
5. Common Issues & Quick Fixes
Here are some common problems users encounter and the best solutions:
Roomba isn’t finding the charging dock ✔️ Solution: If you’ve moved the dock, manually place Roomba onto the station to help it relearn the position.
Wi-Fi keeps disconnecting ✔️ Solution: Try using a 2.4 GHz Wi-Fi network instead of 5 GHz, as some Roomba models work better on lower frequencies.
It’s skipping certain rooms ✔️ Solution: Open the app and check if “No-go zones” were accidentally set up in unwanted areas.
Final Thoughts: A Smarter Way to Clean with Roomba J9
The Roomba J9+ can make cleaning effortless when properly set up and maintained. Over time, it adapts to your home, ensuring smarter, more efficient cleaning cycles. If you found this guide helpful, feel free to share it with others!


About Richard Carter
I've been working with computers for many years. I spent over six years as a staff member at a major tech store in New York, where I helped customers find the best solutions for their needs. After that, I transitioned into freelancing to share my knowledge with a wider audience and continue doing what I love. My goal is to help people make smart technology choices.


Post Comment